

Introduction
Have you ever wondered how to make your computer’s graphics card work better? One important step is updating your GPU BIOS. But what is GPU BIOS? It stands for Graphics Processing Unit Basic Input/Output System, and it’s like a special program inside your graphics card that helps it run smoothly. In this guide, we’ll learn how to update GPU BIOS safely and easily. Updating GPU BIOS not show can help your games run faster, fix problems, and ensure your graphics card works well with new software. Think of it as giving your graphics card a tune-up, just like you would do for a car. By keeping your GPUs BIOS up to date, you can enjoy the latest games and applications without any hiccups.
What is GPU BIOS?

What is GPU BIOS?
GPU BIOS is the brain of your graphics card. It tells the hardware how to perform, manage resources, and interact with your computer’s operating system. This includes critical functions such as rendering images, processing graphics, and handling video output. Without a properly functioning GPU BIOS, your graphics card may struggle to perform optimally, leading to issues like crashes, poor performance, and even complete failure to boot. Just like your computer has a BIOS that helps it start up, your GPU has its own BIOS that plays a vital role in the overall performance of your system.
Why Should You Update Your GPU BIOS?
Updating your GPU BIOS can help fix bugs, improve performance, and ensure your graphics card works with the latest games and software. Over time, manufacturers release updates to improve the functionality of their graphics cards, address security vulnerabilities, and enhance compatibility with new technologies. For instance, when a new game is released, it may require specific drivers or optimizations that are only available in the latest GPU BIOS version. An update can provide the necessary support for these new titles, helping you avoid frustrating performance issues and allowing you to enjoy the latest gaming experiences without interruptions. Essentially, keeping your GPU BIOS updated is a proactive measure to ensure your system runs smoothly and efficiently.
Preparing for the Update
Before we dive into how to update your GPU BIOS, let’s prepare. The preparation steps are crucial to avoid any potential issues during the update process.
| Preparation Steps | Description |
|---|---|
| 1. Identify Your GPU Model | Use a program like GPU-Z to find out what kind of graphics card you have. This information is essential because the BIOS update is specific to each model. |
| 2. Check Current BIOS Version | In GPU-Z, you can see your current BIOS version. Write this down, as you’ll need to compare it with the new version. Knowing your current version can help identify if an update is necessary. |
| 3. Back Up Your Current BIOS | This step is critical. Backing up ensures that you can restore your GPU to its original state if anything goes wrong during the update. Use GPU-Z or similar software to save a copy of your BIOS. |
| 4. Gather Necessary Tools | Get a USB drive with enough space to store the new BIOS file and the flashing software needed for the update, such as NVFlash for NVIDIA cards or ATIFlash for AMD cards. |
How to Update Your GPU BIOS
Updating your GPU BIOS might sound complicated, but it’s easier than you think if you follow these steps closely.
Step 1: Download the Latest BIOS Version
Now it’s time to get the latest version of your GPU BIOS. Go to the official website of your GPU’s manufacturer, like NVIDIA or AMD. Look for the support or download section. Search for your specific model, and download the newest BIOS file available. Make sure you save it to your USB drive! Using the manufacturer’s site ensures that you are getting the correct and safest version of the BIOS.
Step 2: Create a Bootable USB Drive
Next, you’ll need to make your USB drive ready for the update. This is where a tool like Rufus comes in handy. Rufus will help you create a bootable USB drive that your computer can use to load the new BIOS. Just follow the instructions on the Rufus website: select your USB drive, choose the file system (usually FAT32), and then select the BIOS file you downloaded. This process may take a few minutes, but it’s essential for ensuring that the update can proceed smoothly.
Step 3: Boot from the USB Drive
After creating your bootable USB, restart your computer. As it starts up, you’ll need to enter the BIOS/UEFI settings. This is typically done by pressing the “Delete,” “F2,” or “F10” key (the exact key may vary depending on your motherboard). Once you’re in the BIOS settings, navigate to the boot options and select your USB drive as the first boot device. This step is crucial because it tells your computer to start from the USB drive, allowing you to access the flashing software needed for the update.
Step 4: Flash the New BIOS
Once your computer boots from the USB drive, open the flashing software, such as NVFlash for NVIDIA cards or ATIFlash for AMD cards. Follow the on-screen prompts to install the new BIOS. This process involves several steps, so read each prompt carefully. It’s very important to not turn off your computer during this process, as this can cause serious damage to your graphics card. The flashing process can take several minutes, so be patient and allow it to complete fully.
Step 5: Reboot and Verify the Update
After the flashing process is complete, restart your computer again. To check if the update was successful, return to GPU-Z and look at the BIOS version once more. If it matches the new version you downloaded, congratulations! You’ve successfully updated your GPU BIOS. If you encounter any issues during boot-up, refer back to the troubleshooting section to resolve them.
Troubleshooting Common Issues
Sometimes things don’t go as planned. Here are some tips if your update fails:
| Issue | Solution |
|---|---|
| Black Screen | If you see a black screen after updating, don’t panic. Restart your computer and try booting from the USB drive again to reflash the BIOS. |
| Boot Issues | If your computer won’t start, you can restore your old BIOS from the backup you made earlier. Use the flashing software to load the backup file, which should get your system running again. |
| Graphical Glitches | If your GPU behaves unexpectedly after the update, check for driver updates. Sometimes, after a BIOS update, you may need to reinstall or update your graphics drivers to ensure compatibility. |
Conclusion
Updating your GPU BIOS is a great way to enhance your computer’s graphics performance. It helps your games run better and addresses any problems you might experience. Remember to always back up your current BIOS before making any changes, as this can save you a lot of trouble if something goes wrong. Keeping your GPU BIOS updated is not just about improving performance; it’s about ensuring your entire system runs smoothly and effectively. With this knowledge, you can confidently take charge of your GPU and enjoy an improved gaming experience!
FAQs About GPU BIOS Updates
Q1: What is GPU BIOS?
A: GPU BIOS (Graphics Processing Unit Basic Input/Output System) is the firmware that controls the hardware of your graphics card. It manages how the GPU interacts with your system and optimizes its performance.
Q2: Why should I update my GPU BIOS?
A: Updating your GPU BIOS can fix bugs, improve performance, and enhance compatibility with new games and software. Manufacturers often release updates to address issues and optimize functionality.
Q3: How do I know if I need to update my GPU BIOS?
A: You should consider updating if you experience performance issues, graphical glitches, or if a new game requires a BIOS version you don’t have. Checking the manufacturer’s website for updates can also help.
Q4: How do I find my GPU model?
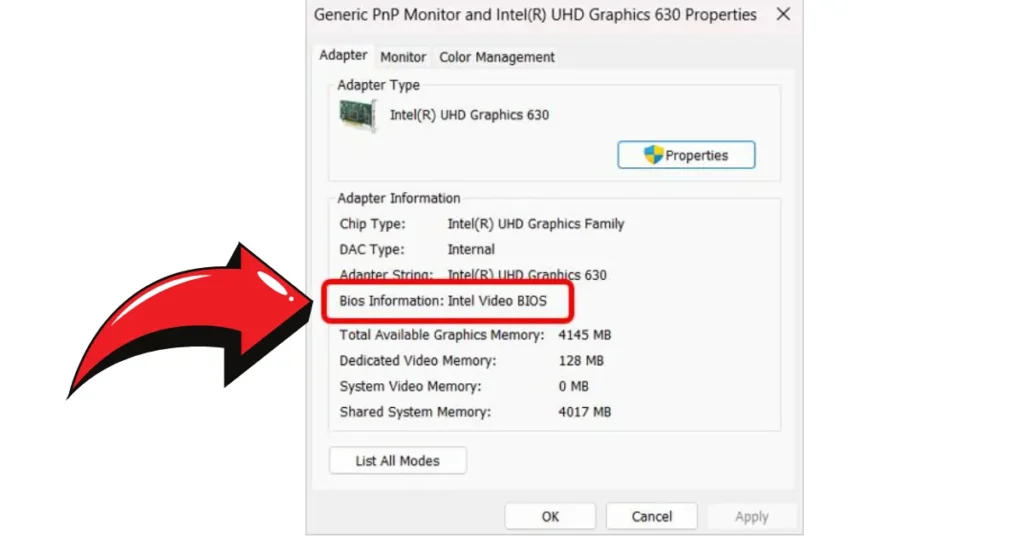
A: You can find your GPU model using software like GPU-Z, Device Manager, or by looking directly at your graphics card if you’re comfortable opening your PC.
Q5: Is it safe to update GPU BIOS?
A: Yes, updating GPU BIOS is generally safe if you follow the correct procedures. However, it can lead to issues if not done properly, so always back up your current BIOS first.
Q6: What tools do I need to update my GPU BIOS?
A: You will need a USB drive, the latest BIOS file for your specific GPU model, and flashing software (such as NVFlash for NVIDIA or ATIFlash for AMD).
Q7: How long does the BIOS update process take?
A: The actual flashing process usually takes just a few minutes, but preparation and rebooting may add some time. Overall, set aside about 15-30 minutes for the entire update process.
Q8: What happens if the update fails?
A: If the update fails, your GPU may not function correctly, or your computer may not boot. You can restore your previous BIOS from the backup you created to recover.
Q9: Can I update my GPU BIOS from Windows?
A: Typically, updating the GPU BIOS requires booting from a USB drive. However, some manufacturers offer Windows-based tools that can simplify the process, so check your manufacturer’s website for details.
Q10: How do I back up my current GPU BIOS?
A: You can back up your current GPU BIOS using software like GPU-Z. Look for the option to save the BIOS, and store it on your computer or an external drive for safety.
Q11: Do I need to uninstall my GPU drivers before the update?
A: No, it’s not necessary to uninstall your GPU drivers before updating the BIOS. However, you may need to reinstall or update them after completing the BIOS update for optimal performance.
Q12: How can I verify if the update was successful?
A: After rebooting, use GPU-Z to check the BIOS version. If it matches the version you downloaded, the update was successful.
Q13: Will updating my GPU BIOS improve gaming performance?
A: In many cases, yes. Updates can fix bugs and improve compatibility with new games, leading to better performance and stability.
Q14: Can I revert to the old BIOS if the update causes problems?
A: Yes, you can revert to your old BIOS using the backup you created before the update. Use the same flashing software to restore your previous BIOS.
Q15: Are there risks involved in updating GPU BIOS?
A: While generally safe, there are risks, including bricking your GPU if something goes wrong. Following instructions carefully and backing up your current BIOS can help mitigate these risks.